Getting started
Install BucketBill, sign in, and your tours, clients and invoices are ready to go. Here is the quickest path from a fresh install to your first invoice.
1. Install and sign in
- Download BucketBill from the download page and install it.
- Open it and sign in with your BucketBill email. Your data syncs securely, so it is there on every device you sign in on.
2. Set up your company
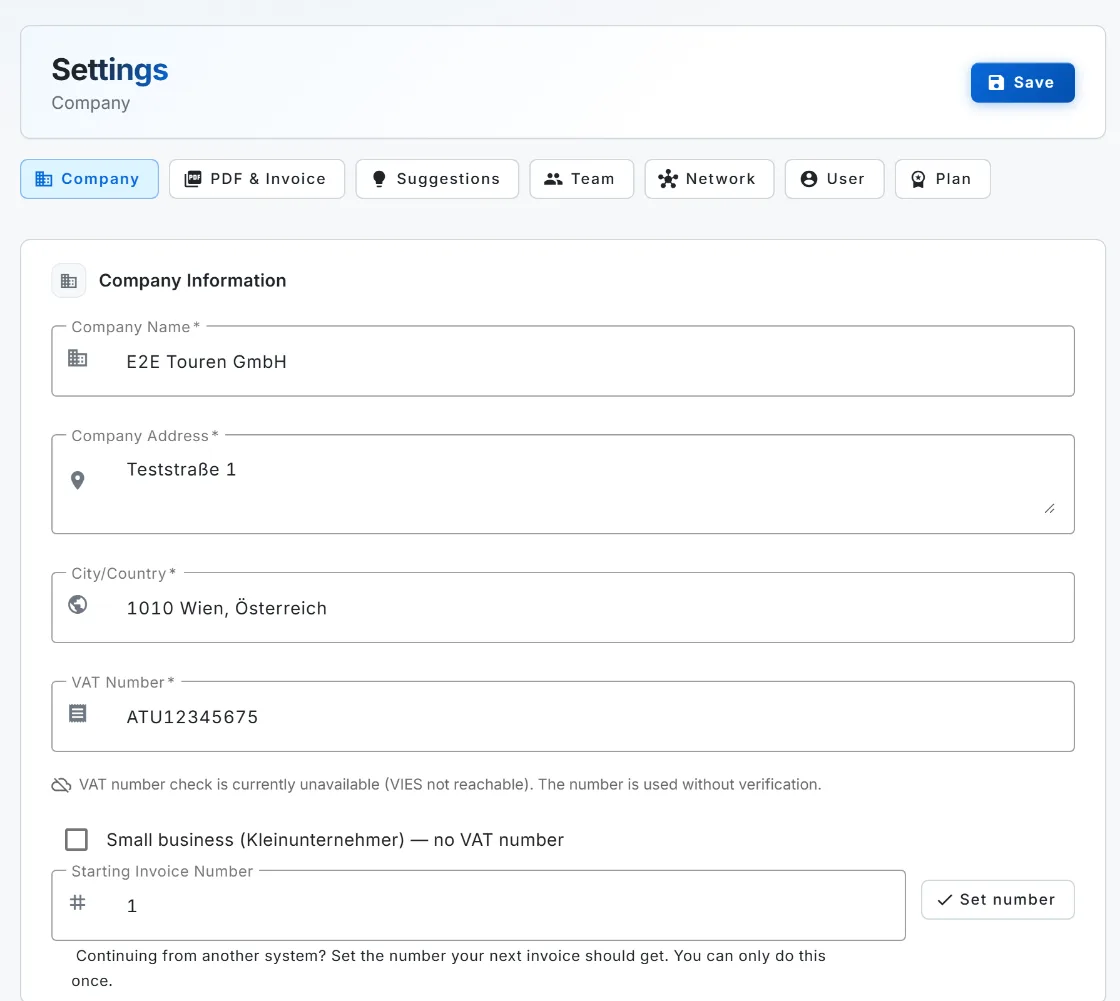
Open Settings and fill in the details that appear on every invoice:
- Company name, address and VAT number.
- Your logo, for the invoice header.
- How your invoice numbers should run.
3. Add your tours and clients
Tours and clients are the building blocks of every invoice. Add them as you go, or import a batch from a spreadsheet. Once a tour has a price, that price flows into any invoice that uses it.
4. Send your first invoice
Now you are ready to bill. Head to Create an invoice to walk through it, from a booking to a finished PDF with a scan-to-pay QR code.
Invoicing needs the Solo plan or higher. On Free you can plan tours and keep clients; when you go to bill, BucketBill will prompt you to upgrade.