Create an invoice
This is the heart of BucketBill: a booking goes in, an invoice comes out. Here is how to write one, from the first line to a finished PDF your client can pay by scanning.
Start the invoice
- Open Invoices and start a new one, from a booking or from scratch.
- Pick the client and tour. Dates, prices and VAT fill in from what you set up, so most of the invoice is already written.
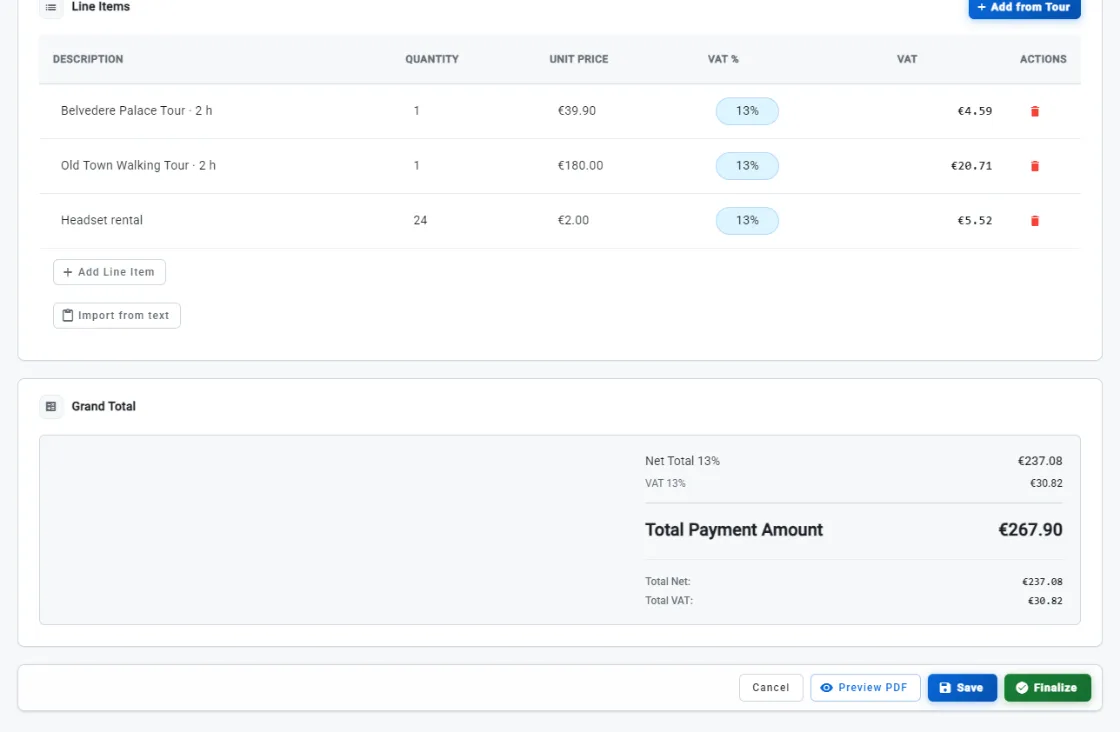
- Add or adjust line items. Quantities, unit prices and VAT calculate as you go, with a running grand total.
Draft, then finalize
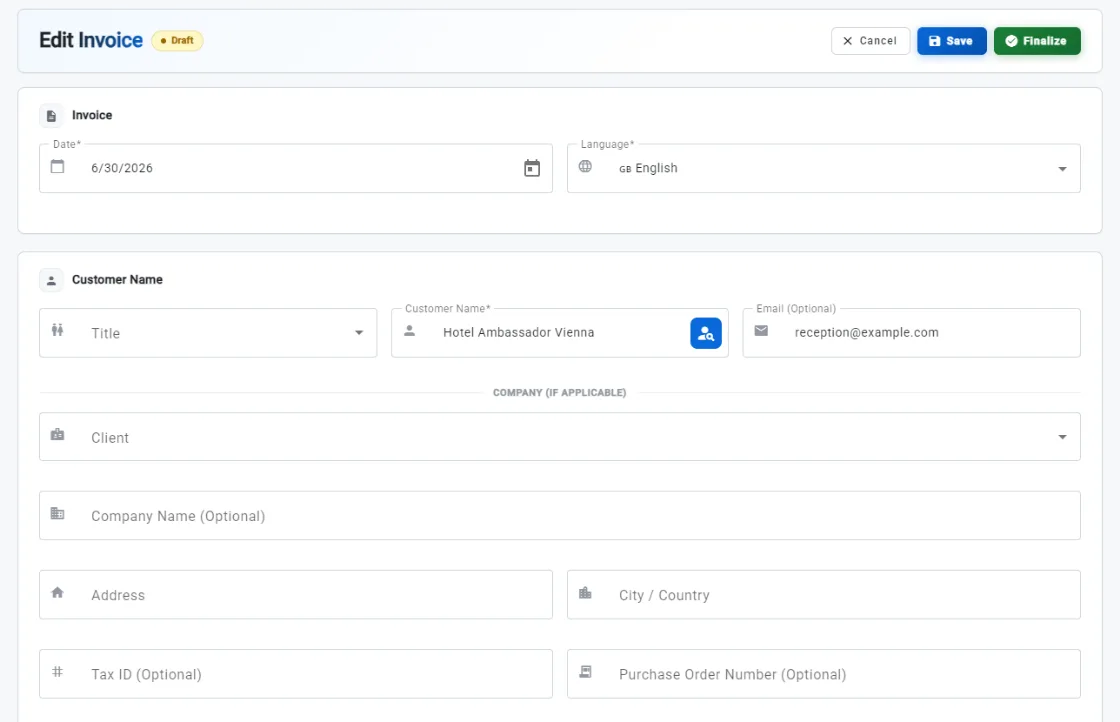
While you are still working, save it as a draft. You can change anything, and required custom fields do not block a draft. When it is ready, finalize it.
Finalizing locks the invoice so it becomes a proper record; you cannot quietly edit a finalized invoice. If something needs to change afterwards, issue a credit note.
Send it and get paid
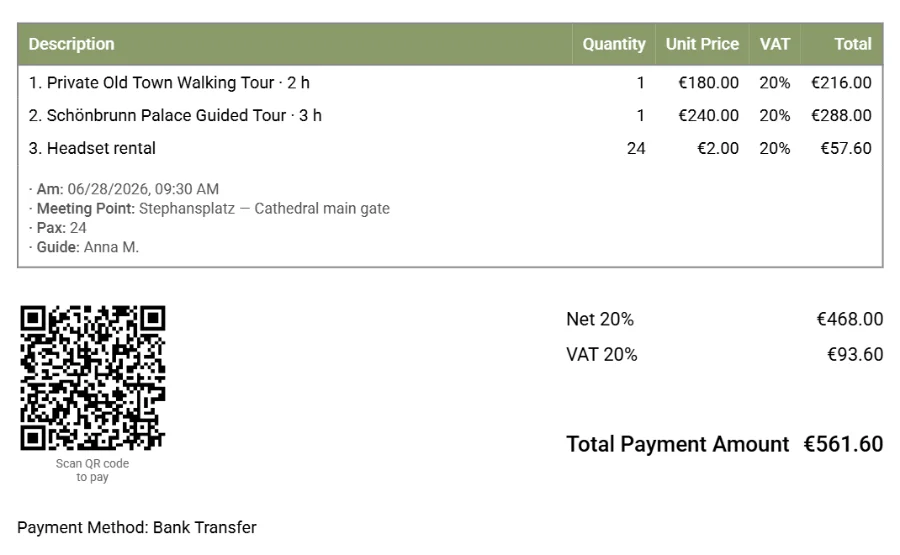
Generate the PDF. It carries your company header, the VAT breakdown, and a scan-to-pay QR code that pre-fills a bank transfer for your client. From there you can save it, print it, or email it, depending on your device.